DLSS 5 Neural Rendering Tested via ReShade on RTX 4090
An experimental method allows testing NVIDIA's unreleased DLSS 5 Neural Rendering in existing games using ReShade and RenoDX, with significant visual
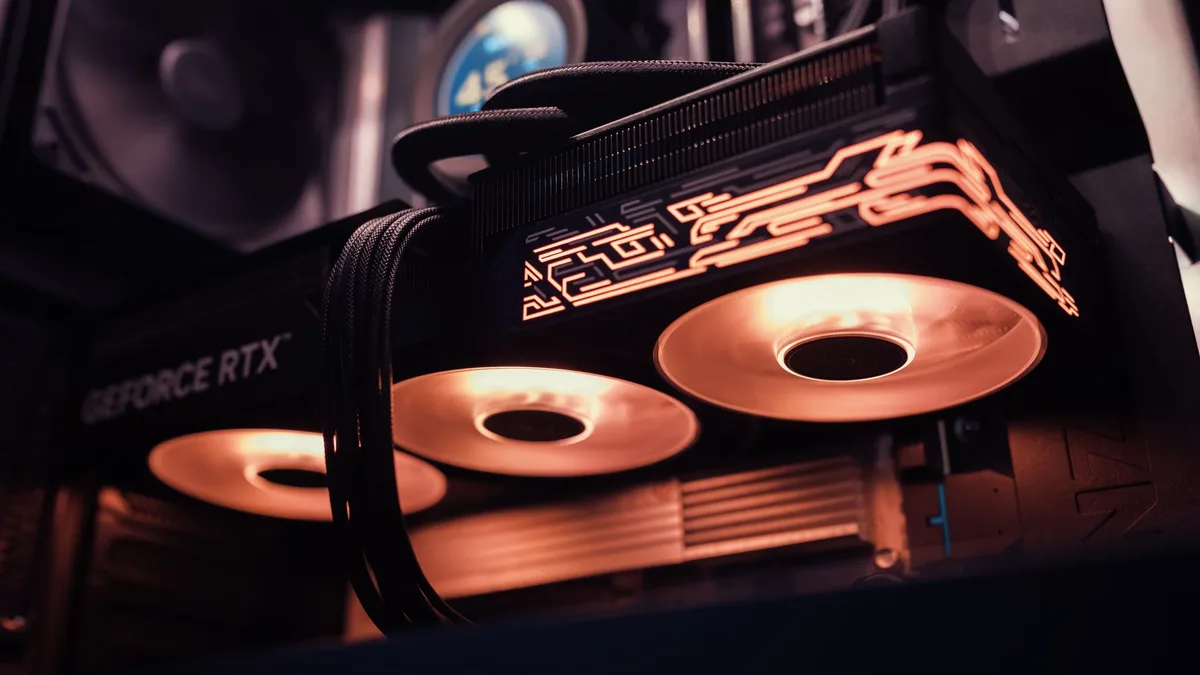
NVIDIA's unreleased DLSS 5 technology can be tested in current games using an experimental community method. The process involves ReShade and RenoDX files to apply Neural Rendering, which visibly alters materials, lighting, and character details.
How DLSS 5 Changes the Image
DLSS 5 is not only an upscaler. It uses Neural Rendering to process a fully rendered game image. The AI model specifically modifies the depiction of materials and their interaction with light. In tests with Cyberpunk 2077 on a GeForce RTX 4090, the changes were particularly noticeable on faces, skin, and hair. Clothing, metallic surfaces, wet streets, reflections, and shadow transitions also showed significant alterations. However, setting the intensity too high can distort the original art style, making faces appear like AI-generated interpretations.
System and Installation Requirements
A specific setup is required for the experimental test. The tester used an NVIDIA GeForce RTX 4090, Windows 11, and current drivers. The game must be 64-bit and support DirectX 11 or 12. Crucially, a special version of ReShade with Full Add-On Support is needed, as the standard version is insufficient. The RenoDX add-on must also match the graphics card architecture; an adapted version is required for RTX 40-series cards like the RTX 4090, as the original implementation was tailored for the unreleased RTX 50-series.
Before installation, a backup of existing files in the game's executable directory is essential. The source advises backing up these files if present:
| File to Backup |
|---|
| dxgi.dll |
| d3d11.dll |
| d3d12.dll |
| nvngx_dlss.dll |
| nvngx_dlssd.dll |
| sl.interposer.dll |
| ReShade.ini |
Step-by-Step Setup Process
The installation is a multi-step process. First, ReShade with full add-on support must be installed, selecting the actual game.exe file, not its launcher. Common directories for the executable include bin\x64, Binaries\Win64, Win64, or x64. For Cyberpunk 2077, the path is typically Cyberpunk 2077bin\x64Cyberpunk2077.exe.
Next, the appropriate RenoDX package for the game and GPU must be downloaded, usually from a Discord channel, and copied to the same directory. The package may include files like renodx-dlss.addon64, nvngx_dlssnr.dll, and a ReShade.ini.
In-game, DirectX 12 and either DLSS Super Resolution or DLAA must be enabled. Ray tracing or path tracing with ray reconstruction can also be active. The source notes that "DLSS 5 does not replace Path Tracing or Raytracing. Neural Rendering is additionally applied to the already generated image." This can significantly increase performance demands.
Activating and Troubleshooting
After launching the game, the ReShade menu is opened with the Home or Pos1 key. Under the 'Add-ons' section, the DLSS 5 add-on should appear, possibly named "DLSS 5 Neural Rendering," "Neural Uplift," or "RenoDX DLSS." A successful installation is indicated by a 'RUNNING' status and a continuously increasing counter for 'Successful NR frames.'
If the add-on shows a 'STANDBY' or 'FAILED' status, the source recommends clicking a reset button and then checking several points. These include verifying the ReShade version, confirming the correct game.exe was selected, ensuring DirectX 12 and DLSS are enabled, and checking that the add-on files are in the right location. Anti-cheat software can also block the files. The report warns, "Multiple Neural Rendering add-ons should not be installed at the same time. They may block one another."
For initial use, the tester recommends conservative settings. While maximum values create a pronounced effect, they risk impairing the game's original graphical style. The visual transformation in Cyberpunk 2077 was described as impressive, yet heavily dependent on careful configuration.